New Bathroom
Updates have been a little thin on the ground recently as we have been out and a bout in the van ,we had a few weeks were we didn't use the van as my wife had an accident and broke her foot so we took the opportunity to redesign the bathroom slightly and make it lighter and fresher .
The old design had worked fine but we used the old shower tray from the old caravan and it was now showing its age along with it starting to crack in the corners so I set about looking for a new tray this proved to be quite difficult as the new ones are much larger than the old one we had plus the wheel arch gets in the way ,I scoured the internet for a way to make my own and found someone on youtube that had made his own using vynal floor covering .
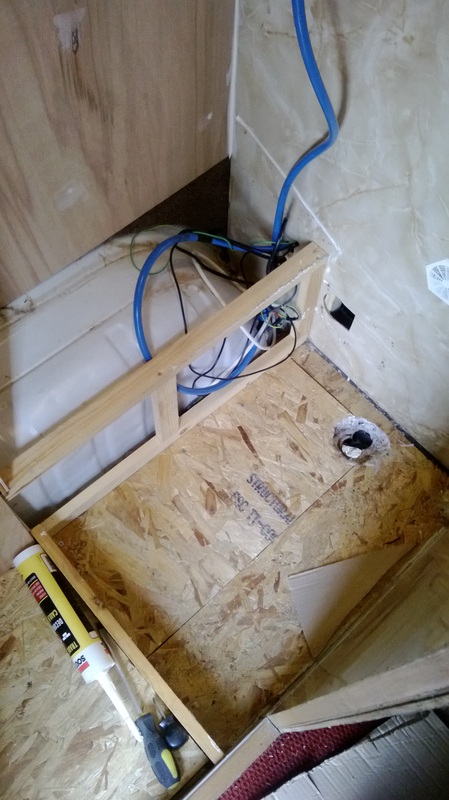
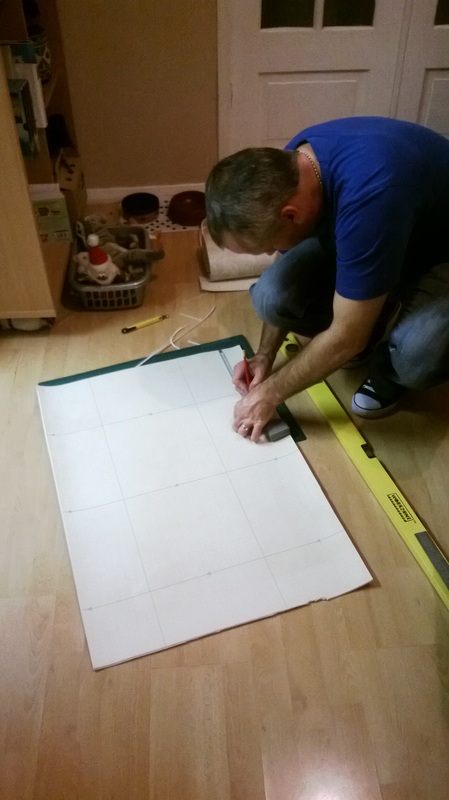
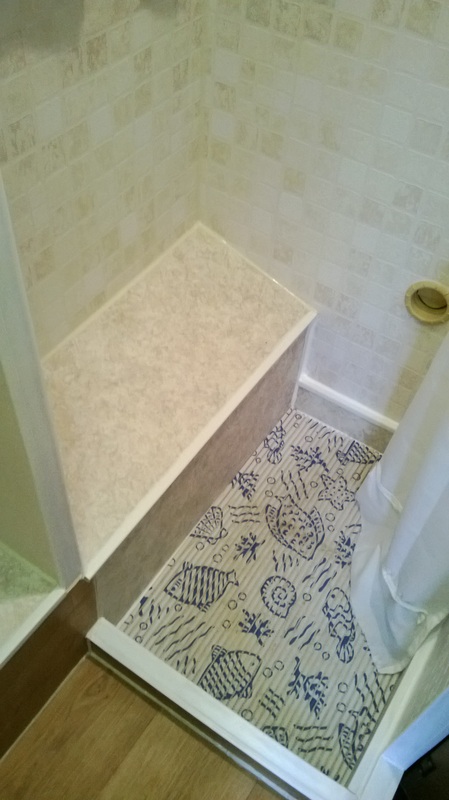
A trip to the local retail park provided us with an off cut of white cushion floor there was quite a lot on the roll and we got it for less than a tenner ,I measured the floor were we wanted the tray to as we didnt want a full length tray this time ,once I had decided on the size I put up a small wall to make the shower cubicle this would eventually have a curtain fitted so it was covered when in the shower .
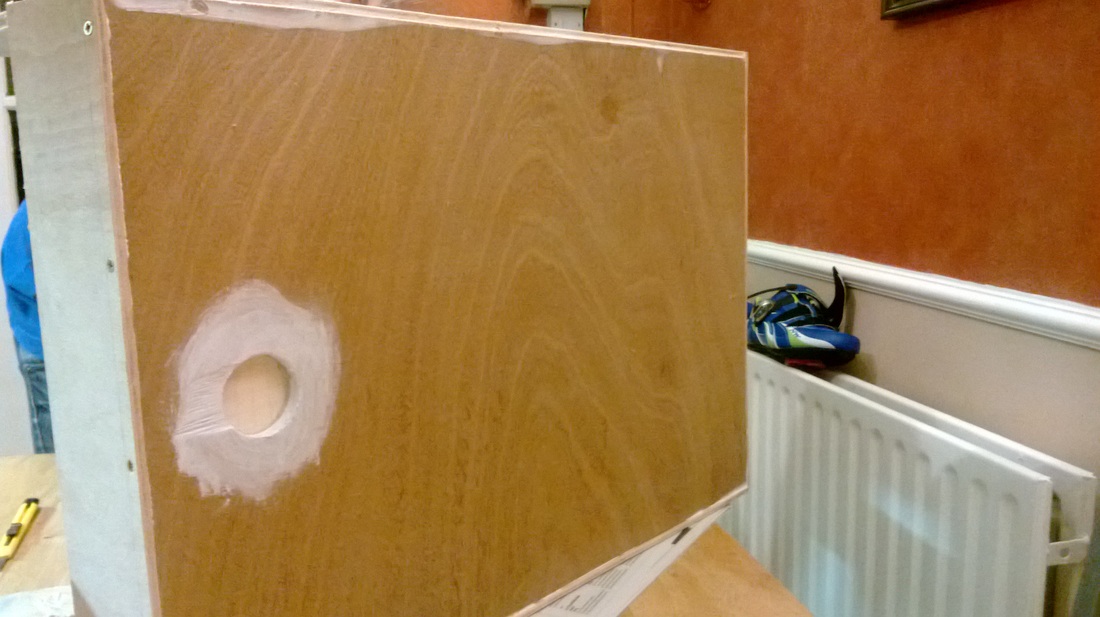
The tray was made form 10mm marine plywood for the base and the sides were the same once cut and assembled a trial fit was in order ,after a couple of modifications we were happy with it and i sealed the joins inside and outside the tray . Once sealed I gave it a coat of paint to seal it and also stop the adhesive from soaking into the wood .
A hole was cut into the base for the waste and it was then ready for the covering to be cut and fitted
The old design had worked fine but we used the old shower tray from the old caravan and it was now showing its age along with it starting to crack in the corners so I set about looking for a new tray this proved to be quite difficult as the new ones are much larger than the old one we had plus the wheel arch gets in the way ,I scoured the internet for a way to make my own and found someone on youtube that had made his own using vynal floor covering .
A trip to the local retail park provided us with an off cut of white cushion floor there was quite a lot on the roll and we got it for less than a tenner ,I measured the floor were we wanted the tray to as we didnt want a full length tray this time ,once I had decided on the size I put up a small wall to make the shower cubicle this would eventually have a curtain fitted so it was covered when in the shower .
The tray was made form 10mm marine plywood for the base and the sides were the same once cut and assembled a trial fit was in order ,after a couple of modifications we were happy with it and i sealed the joins inside and outside the tray . Once sealed I gave it a coat of paint to seal it and also stop the adhesive from soaking into the wood .
A hole was cut into the base for the waste and it was then ready for the covering to be cut and fitted

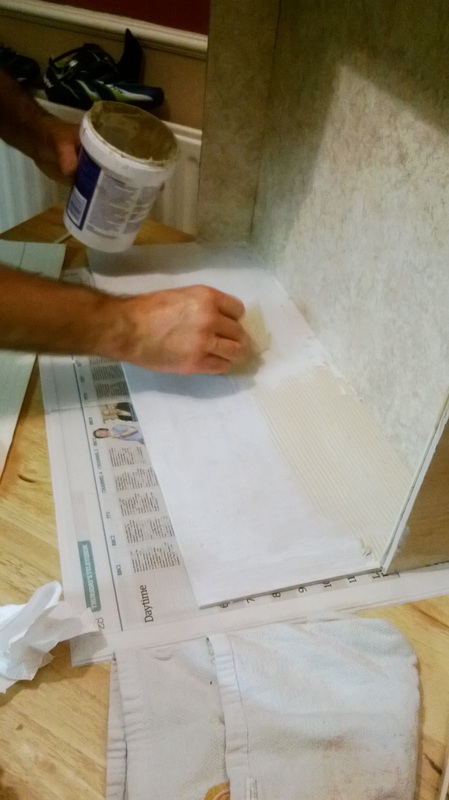
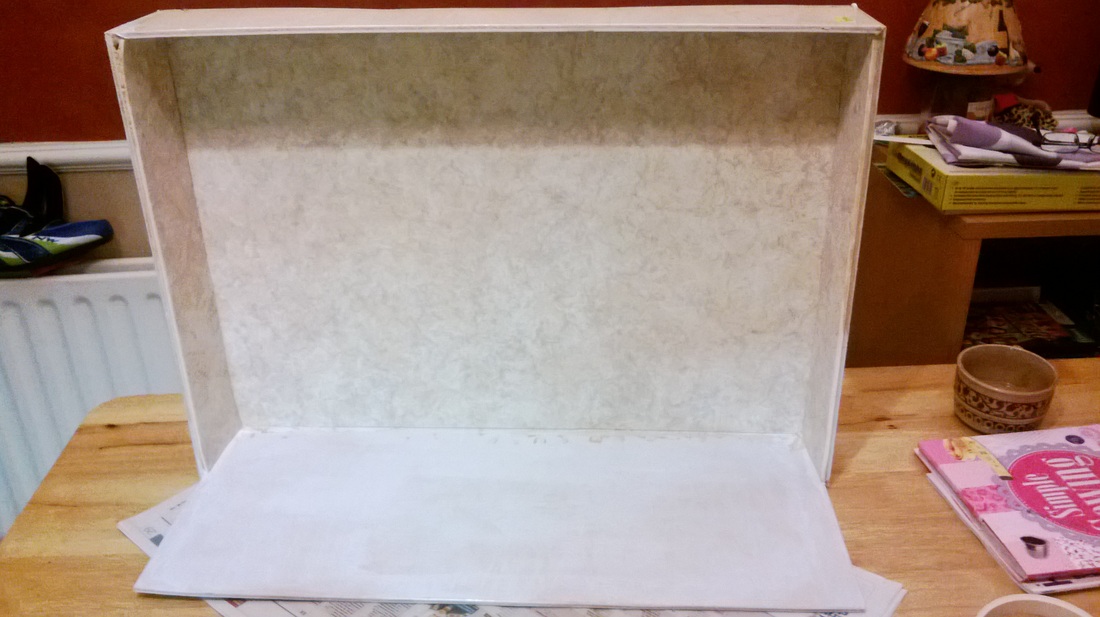
Once the covering has been glued to the wood it was left ot dry overnight to make sure it was fully dry ,then the joints were sealed up with silicone sealer to make a nice watertight joint . I fitted the waste outlet and then left it filled with water to make sure it wasnt leaking .
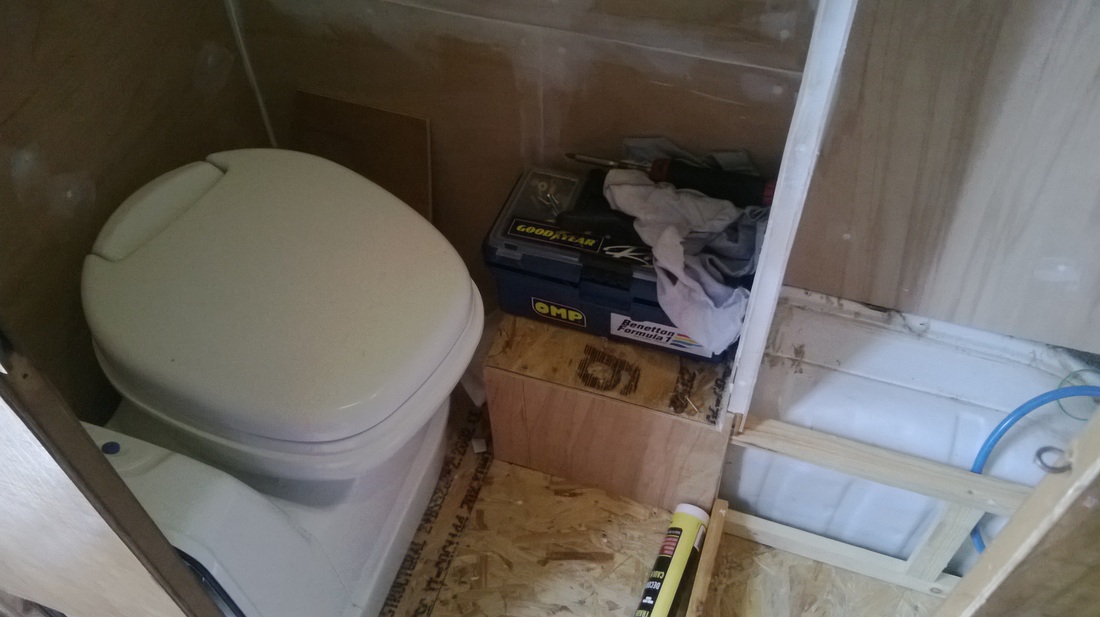
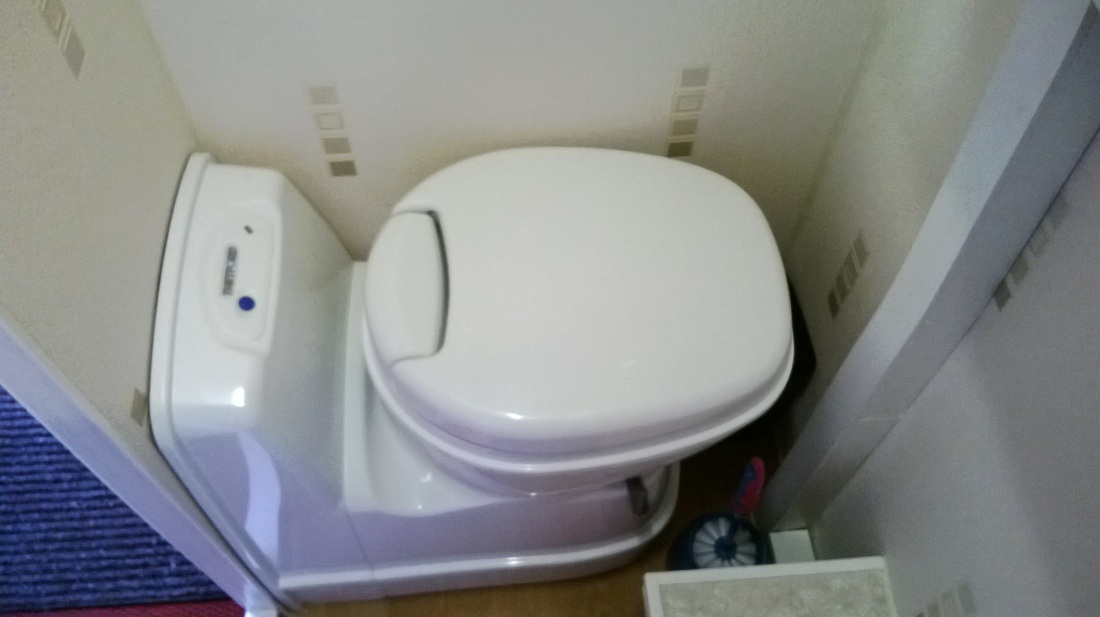
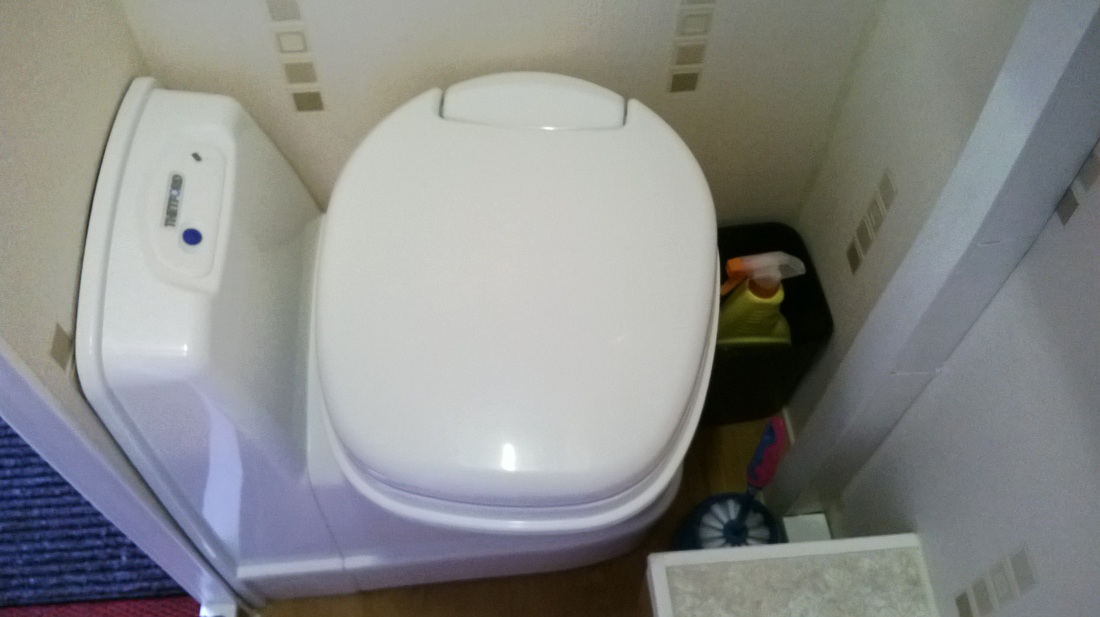
I left the tray at one side and now started on the toilet I turned the toilet on its side so that it gives us more room and as the top swivels it can be turned out of the way ,after rerouting the wiring and pipe work as its an electric flush we marked out the side wall for cutting out the casette door ,we choose to cut the hole so the casestte door opens into the kitchen galley much easier now to empty as I dont have to open the back doors everytime . A couple of trial fits and it was done ,I also took the floor up slightly in the toilet area so it wasnt as low when your sitting on the toilet .
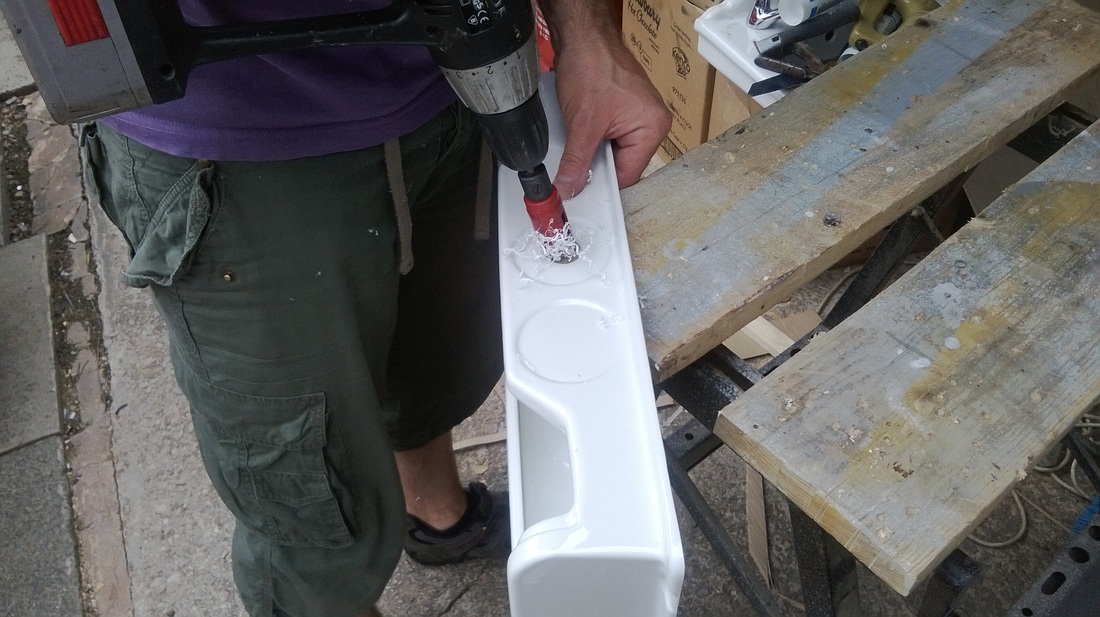
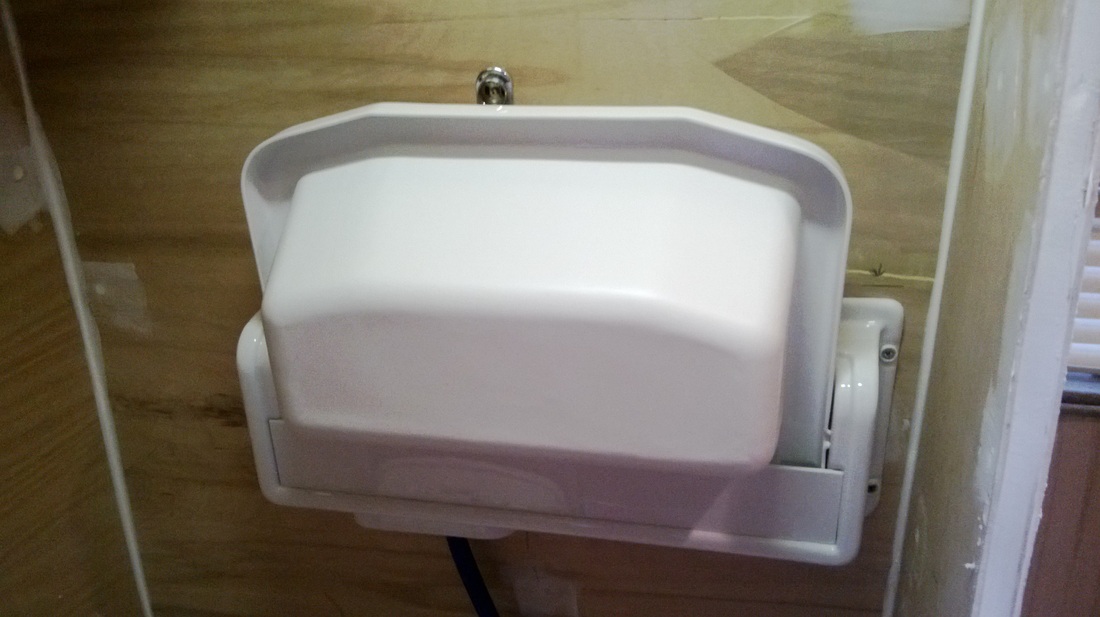
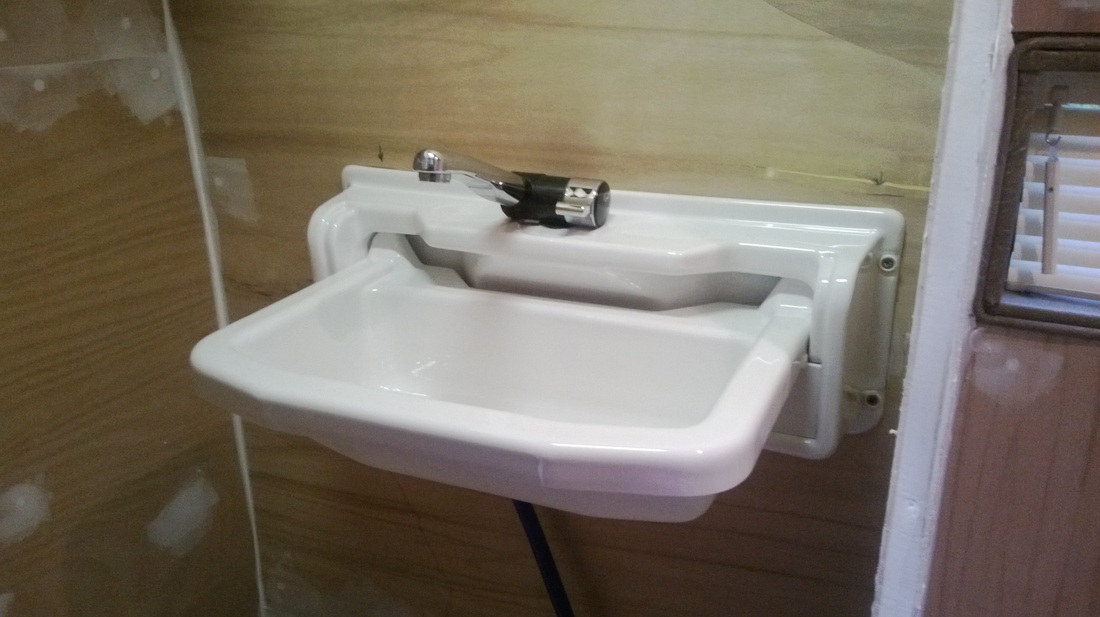
Now for the sink our old sink was a corner type one and it was too big so after much searching on the internet we eventually found a small tip up sink from C A K tanks which fitted the bill . I comes with a small waste which is extra but once fitted the hole for the tap was cut and then fitted ,all the drains and wiring were routed and the sink was fitted to the wall in the bathroom . Its surpring how much space it saves when its tipped up .
Now for the sink our old sink was a corner type one and it was too big so after much searching on the internet we eventually found a small tip up sink from C A K tanks which fitted the bill . I comes with a small waste which is extra but once fitted the hole for the tap was cut and then fitted ,all the drains and wiring were routed and the sink was fitted to the wall in the bathroom . Its surpring how much space it saves when its tipped up .

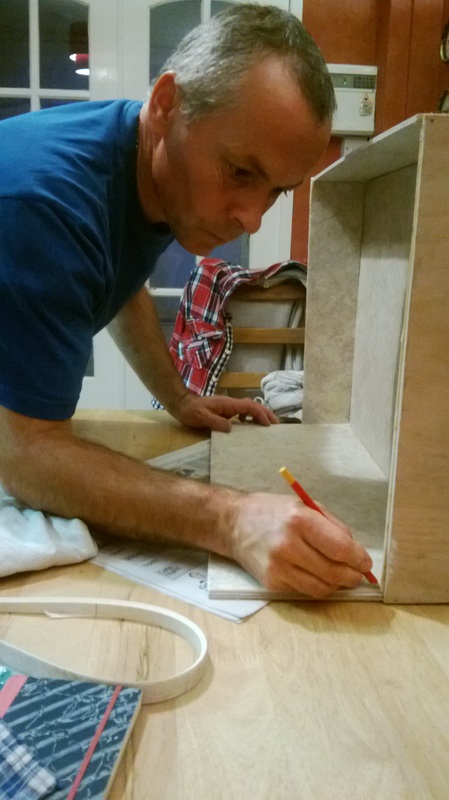
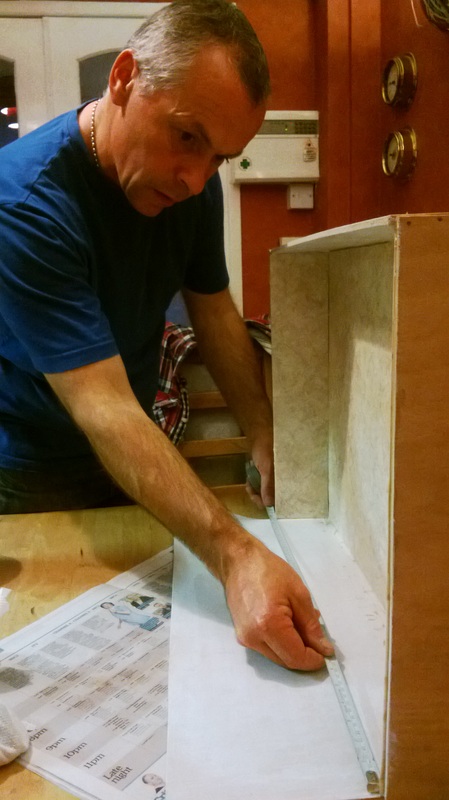
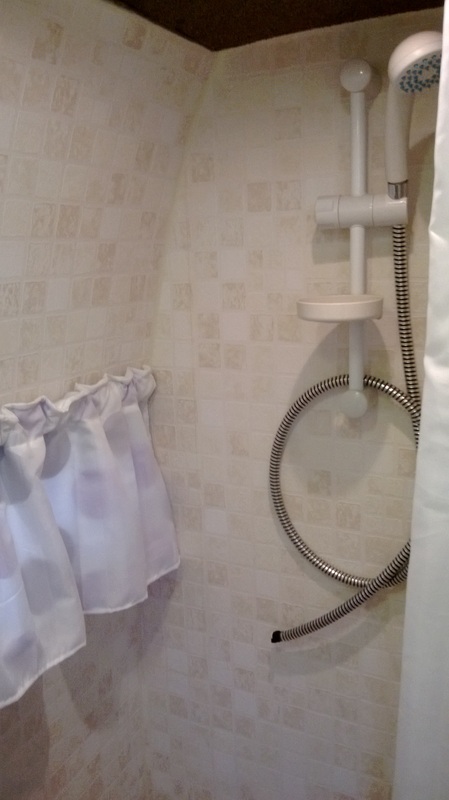
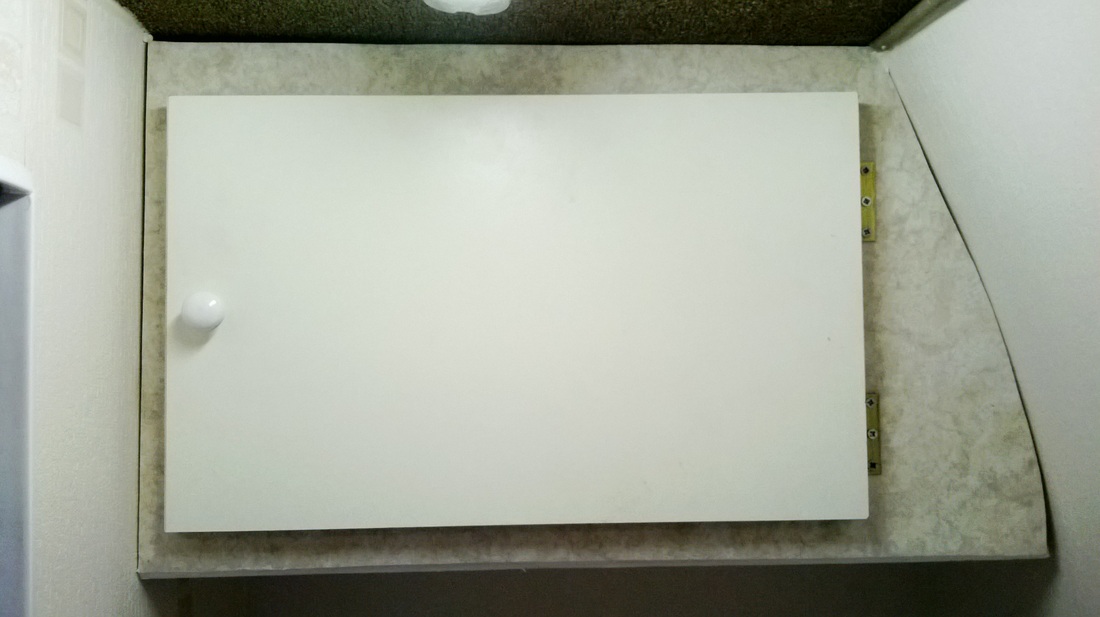
most of the jobs are done now aprt for the making of a storage cupboard above the toilet ,I make a plywood frame and coved it with the left over vynal from the shower tray and then fitted a door this is now fitted and looks ok ,all the walls have been filled to make a nice smooth base for the covering. We choose to use Vynal wallpaper fully washable we pasted the walls first to seal them and then used a pva type adhesive to paste the paper with with ,in the shore cubicle i sealed the joints in the corners to make sure they didnt leak . the tray was fitted and the waste connected up and it was then sealed to make it water tight . the shower rail has been fitted and new curtain fitted .
I have also cut a hole for a new blow air heating vent to warm up the bathroom on those cold Autumnn nights . The shower works a treat and the tray drains well and has made a big difference now compared to the old bathroom .
I have also cut a hole for a new blow air heating vent to warm up the bathroom on those cold Autumnn nights . The shower works a treat and the tray drains well and has made a big difference now compared to the old bathroom .


We have had a long weekend away in shropshire with the new layout and its much better the shower worked a treat .We have since we came back fitted another heater pipe to the front cab so now have 3 outlet to take the chill out of the cab and have made a splash back for the kitchen .
