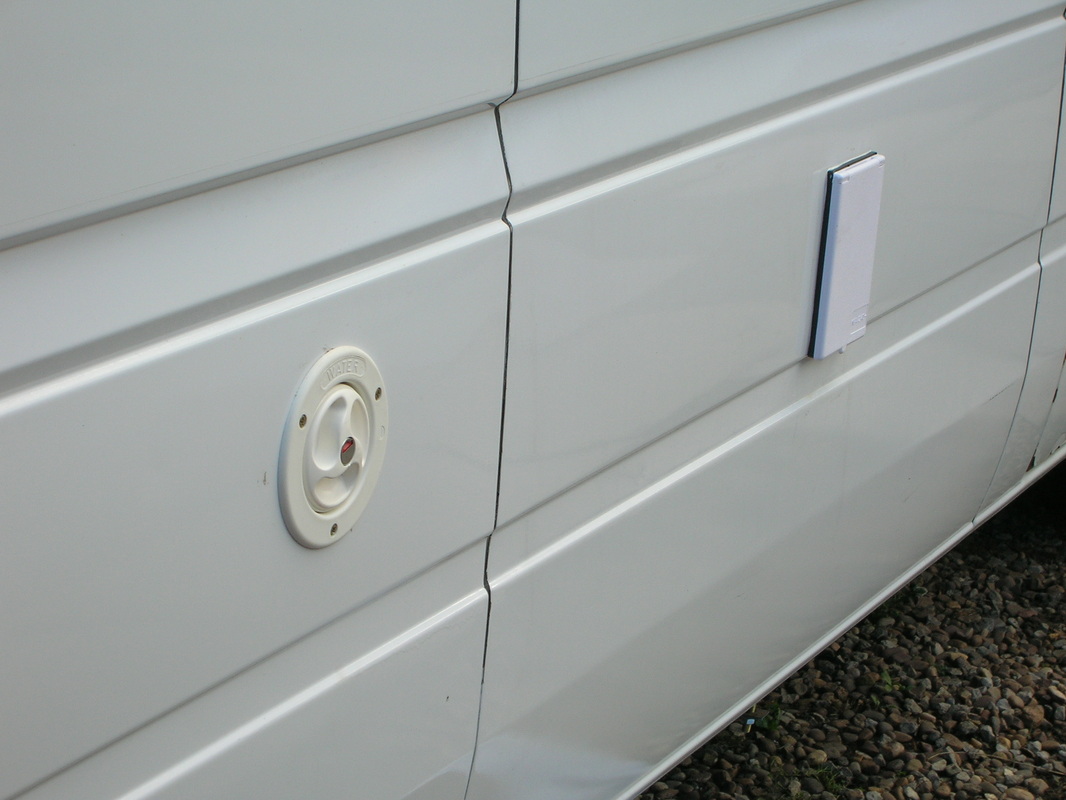
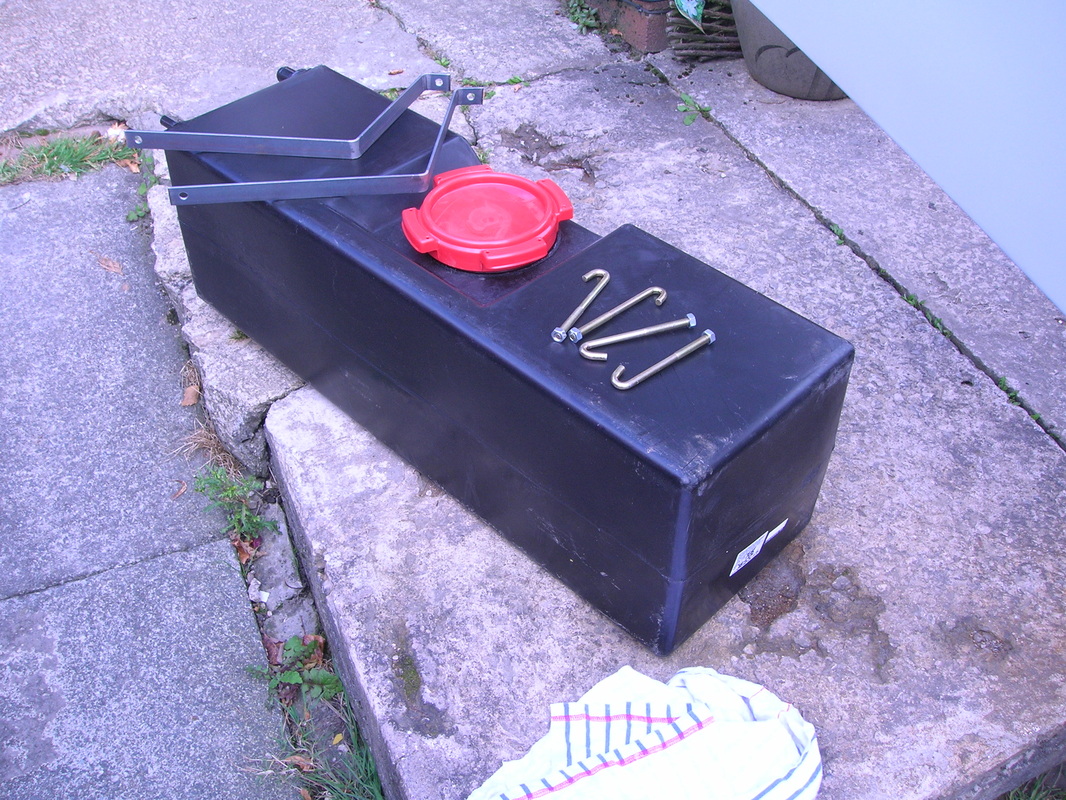
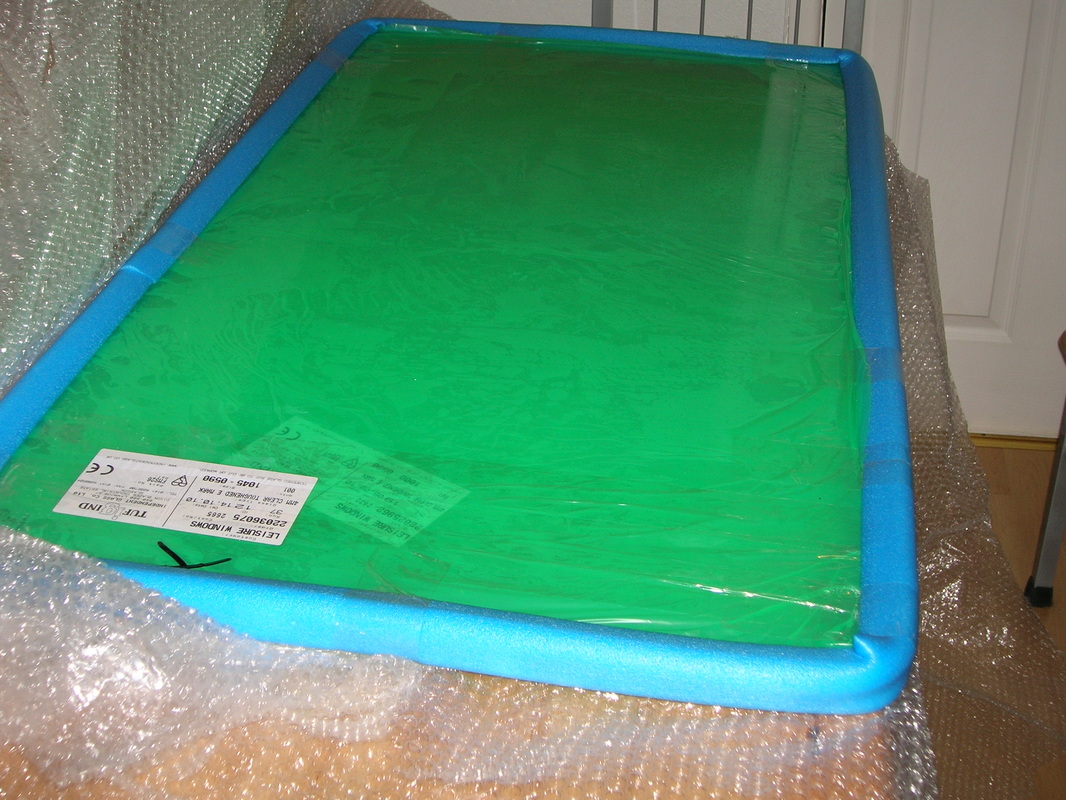
The windows have now been ordered from Vehicle Leisure Windows they took around 10 days to arrive ,I also ordered a 60 litres fresh water tank kit from CAK Tank supplies this kit comes with all the brackets,filler and pipes to fit it under the floor giving us more room inside the van .I opted for the more expensive tank with the red cap which makes it easier to clean out .
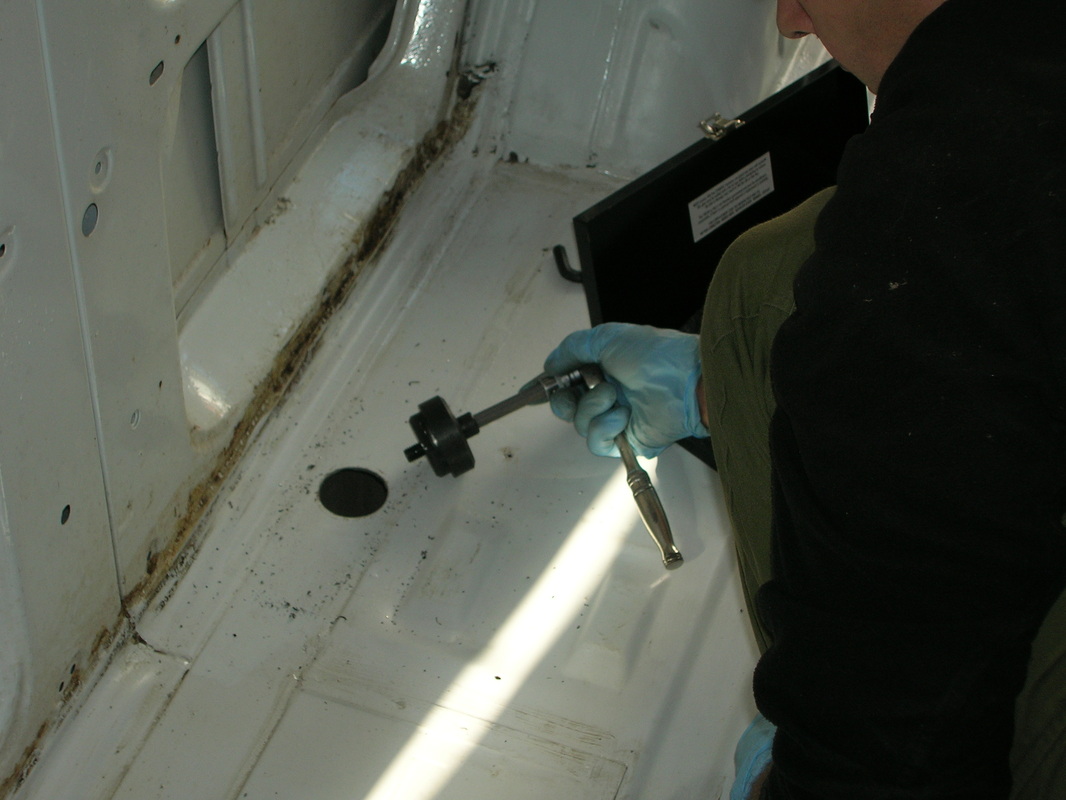
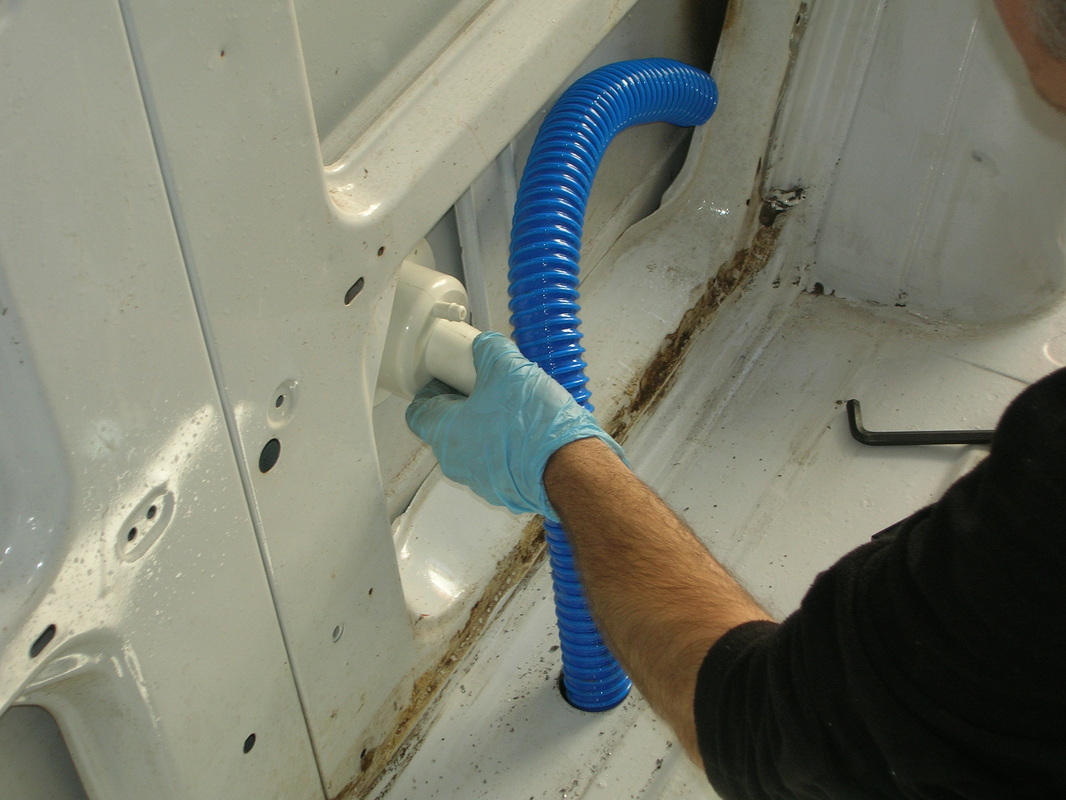
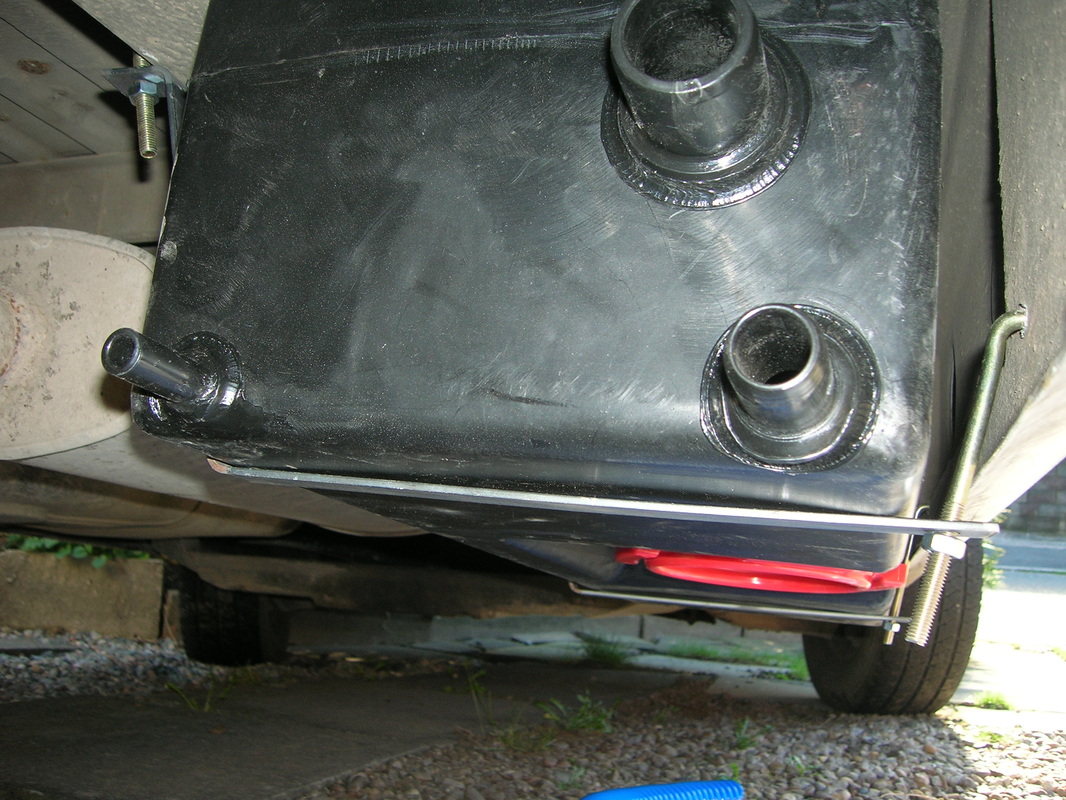
The tank has now been fitted under the floor and the 44mm hole cut to allow the pipe to connect to the filler on the side of the van ,I have also fitted the electric hook up and run the wire inside the van .
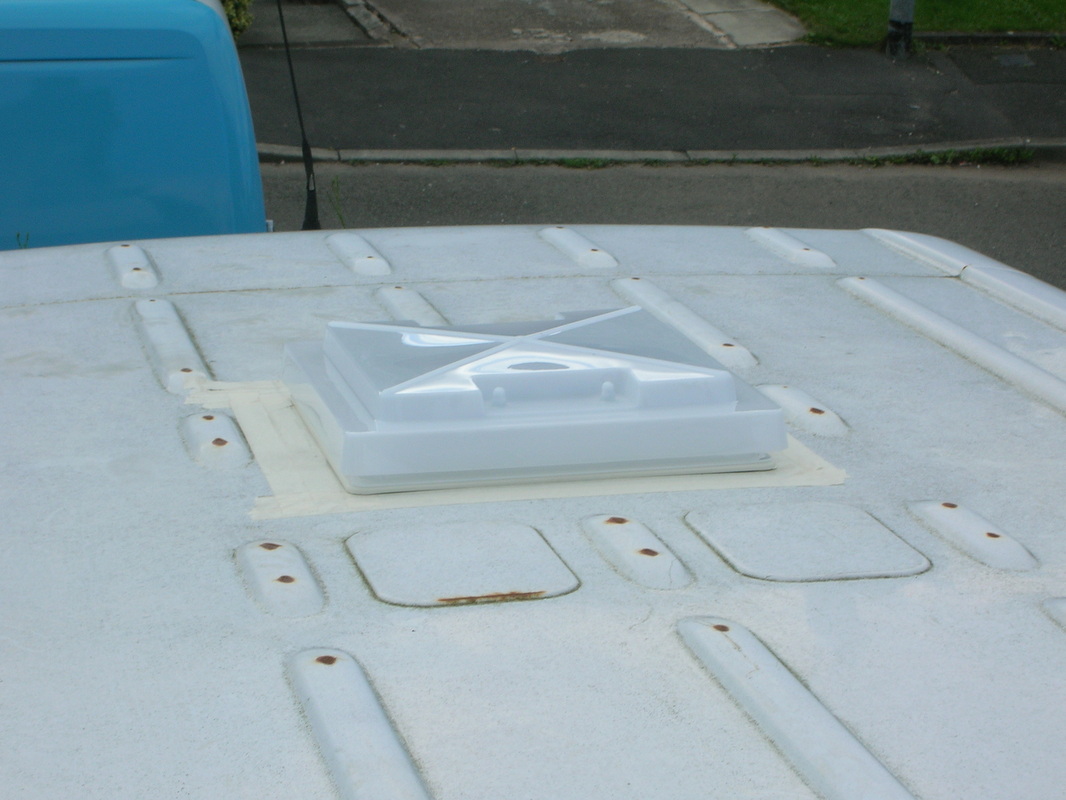
The roof Window /Vent has now been fitted quite a nerve racking task which didn't help as the jig saw packed up off to Argos for a new one !
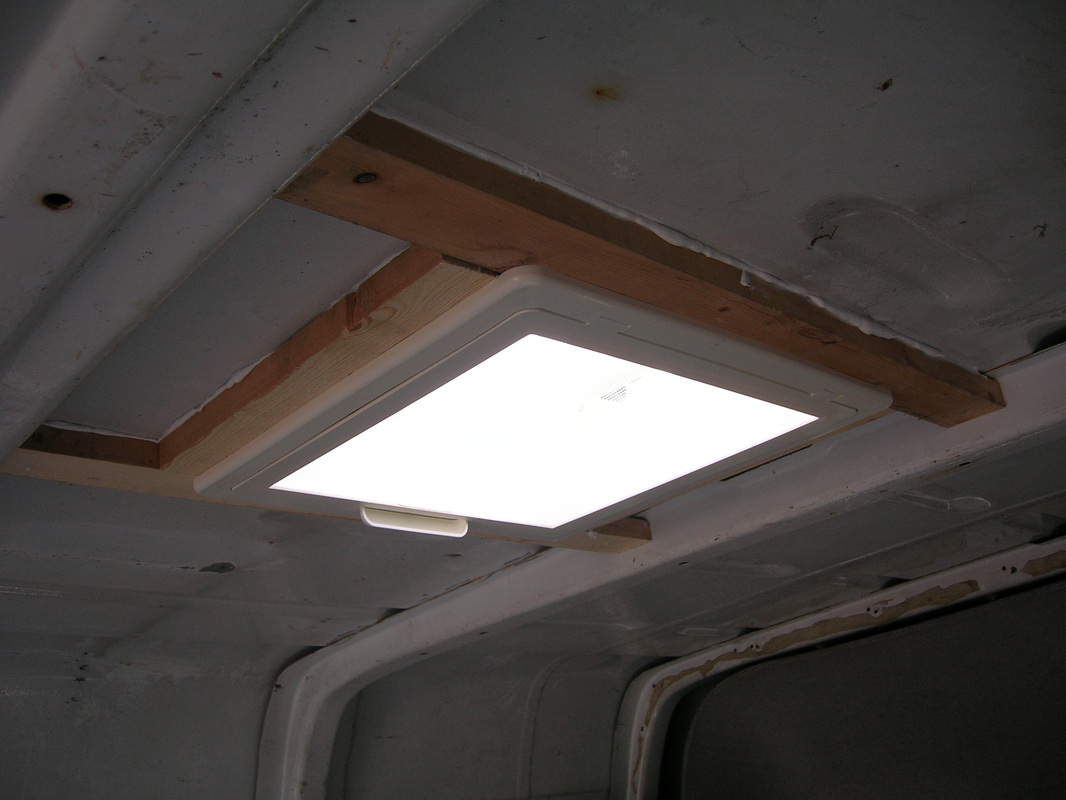
New one in hand I cut the hole and then made the timber frame to support the roof vent. I glued this in place with Sikaflex and for added strength added a few self tappers from the roof face which wont be seen under the vent.
After a trial fit I ran a bead of sikaflex round the edge and went for the final fit ,it fitted a treat once it was screwed into place I ran the sikaflex around the outside edge of the vent and let it cure .A few little jobs were done while on the roof ,Ashley cleaned the dirt and mould off the roof ,I resealed the roof panel seals and touched up places where a roof rack was once fitted it just needs a good polish now so the water beads off .
The tank has now been fitted under the floor and the 44mm hole cut to allow the pipe to connect to the filler on the side of the van ,I have also fitted the electric hook up and run the wire inside the van .
The roof Window /Vent has now been fitted quite a nerve racking task which didn't help as the jig saw packed up off to Argos for a new one !
New one in hand I cut the hole and then made the timber frame to support the roof vent. I glued this in place with Sikaflex and for added strength added a few self tappers from the roof face which wont be seen under the vent.
After a trial fit I ran a bead of sikaflex round the edge and went for the final fit ,it fitted a treat once it was screwed into place I ran the sikaflex around the outside edge of the vent and let it cure .A few little jobs were done while on the roof ,Ashley cleaned the dirt and mould off the roof ,I resealed the roof panel seals and touched up places where a roof rack was once fitted it just needs a good polish now so the water beads off .

November
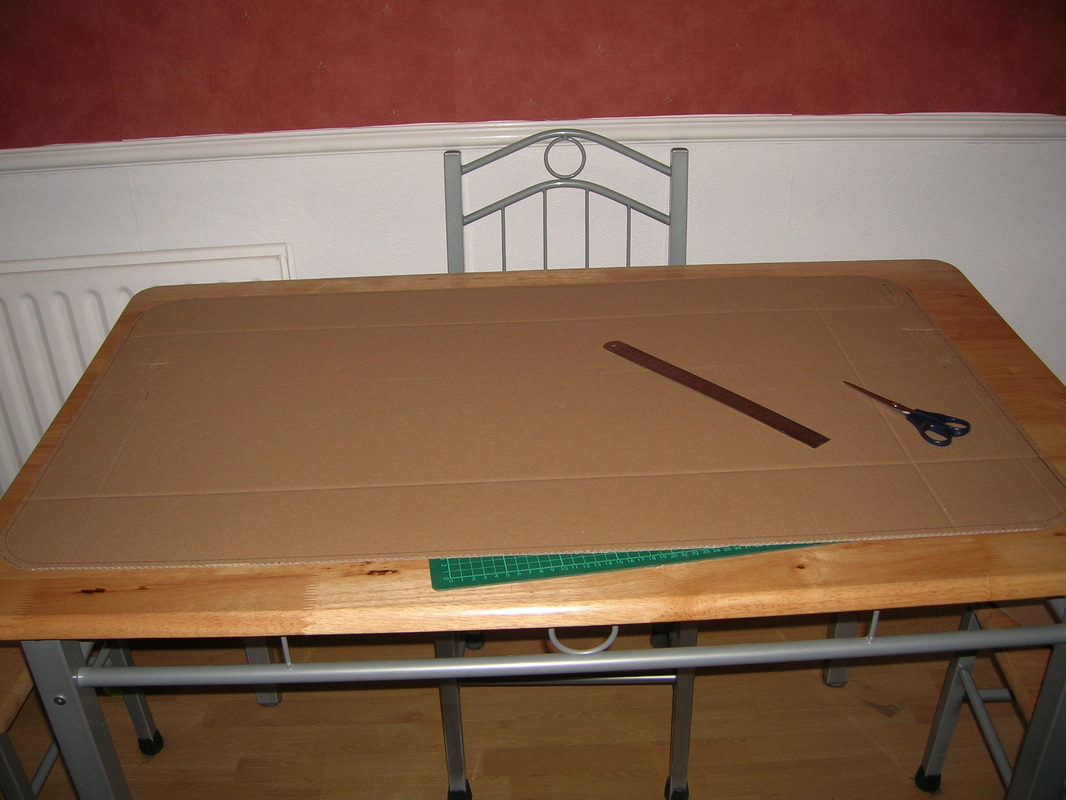
Its been a while since the last update various bits of bodywork have been done now and the windows have now arrived from Leisure Windows so with a couple of good dry days forecast we set about making the templates for the holes and marking them out on the van sides, we decided on rubber fit type mainly down to cost and more choice,
Paul at Leisure windows knows his stuff and I would highly recommend them .
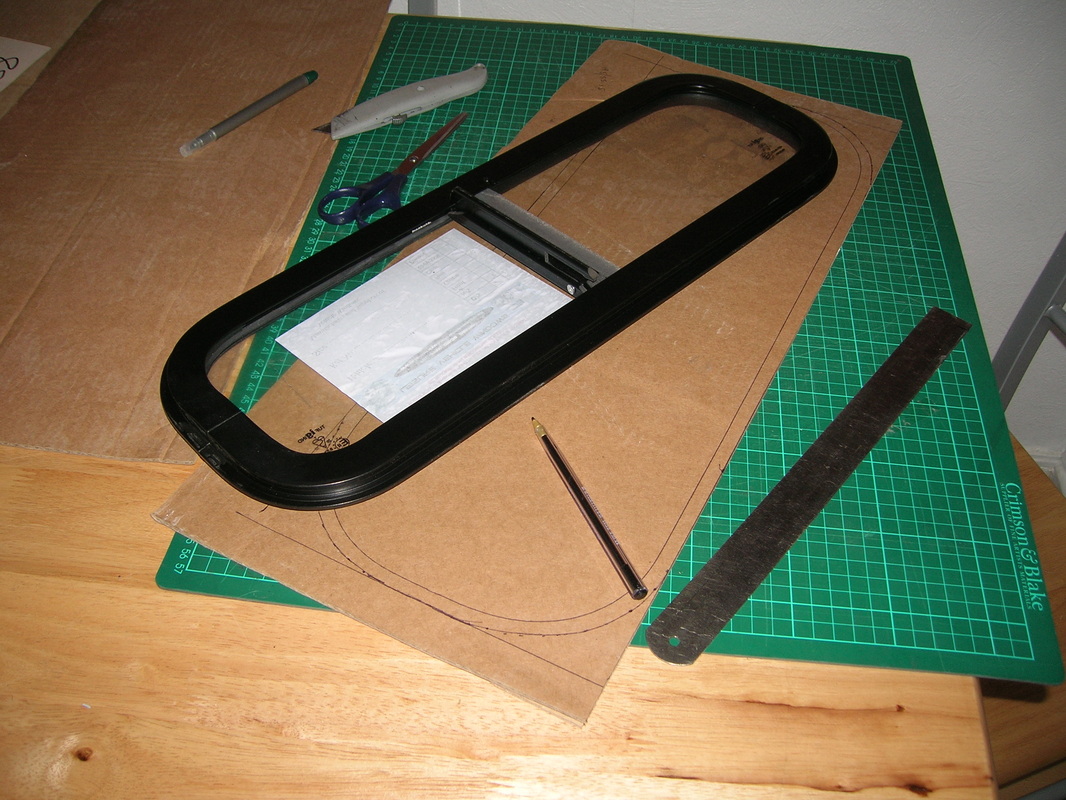
After unpacking them to check they were ok we set about making the templates.
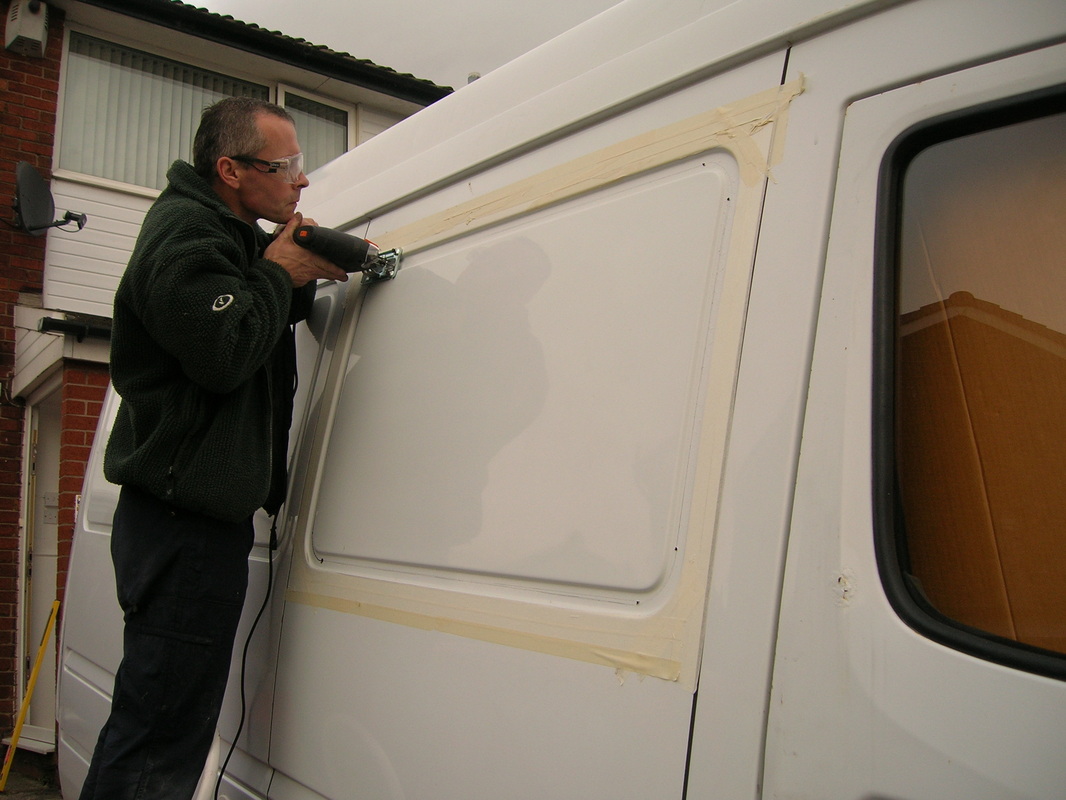
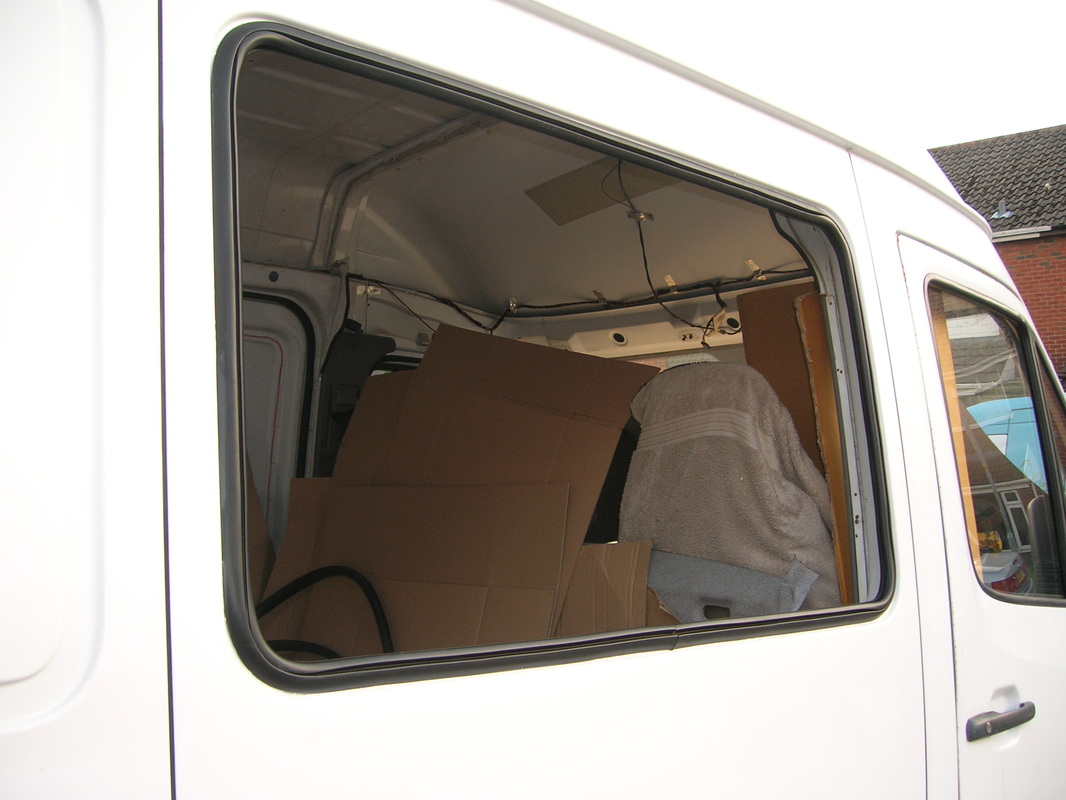
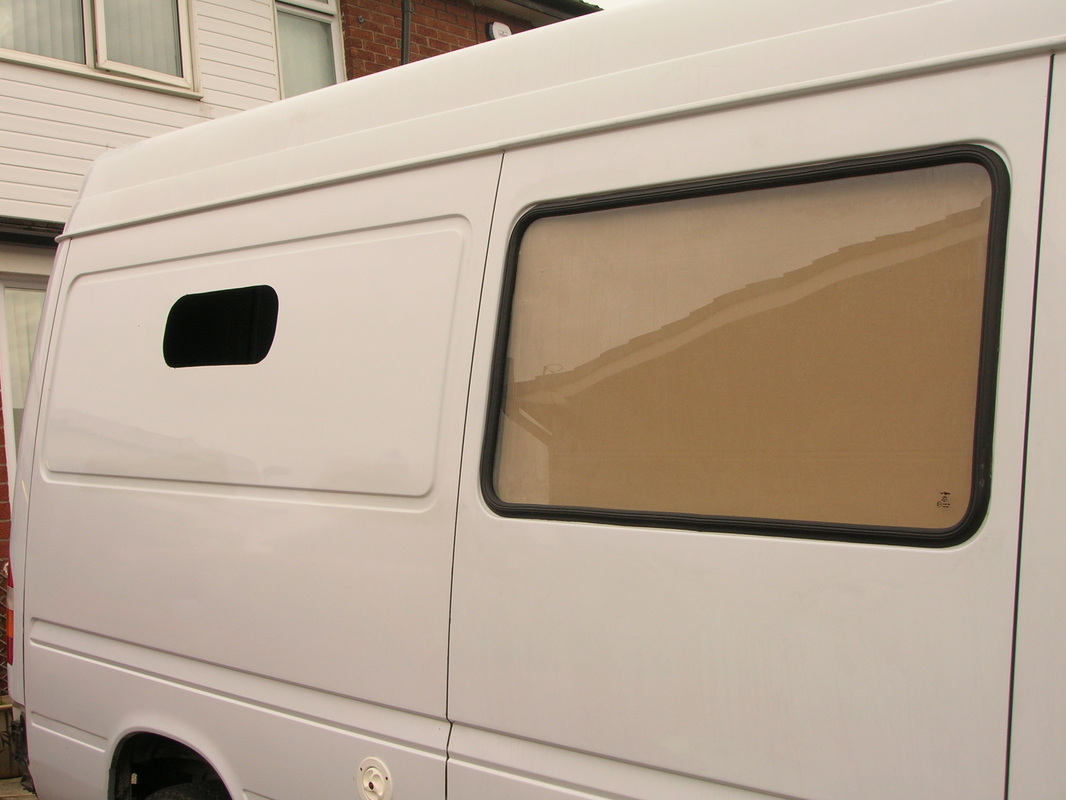
Measure twice and cut once is the motto, after drilling a few guide holes I set about cutting out the first panel, its handy to have someone inside the van to hold the loose panel to stop it flapping about when you get to the end. Once removed I filed the panel edge and sanded to remove sharp edges ,then we painted the edge with paint too stop it rusting .
Once the paint had dried we fitted the rubber seal, care is needed here not to stretch it as its being fitted,once this was fitted around the window I trimmed the excess leaving it a little long this will allow for shrinkage over time.
Fitting of the glass was done with the help of the wife from inside, we built up our own technique for fitting this and it seemed to work quite well ,plenty of soap will help no end and I recommend getting the fitting kit it saves damaging the seal and makes it easier to fit the filler strip .
Glass fitted in the first one so sealer is applied firstly rubber to body then I applied some to the rubber to glass ,we then set about fitting the filler strip.
Again care is needed to make sure you don't stretch the filler strip when fitting .My advice for fitting these windows is to take your time as they are tricky to fit .
Its been a while since the last update various bits of bodywork have been done now and the windows have now arrived from Leisure Windows so with a couple of good dry days forecast we set about making the templates for the holes and marking them out on the van sides, we decided on rubber fit type mainly down to cost and more choice,
Paul at Leisure windows knows his stuff and I would highly recommend them .
After unpacking them to check they were ok we set about making the templates.
Measure twice and cut once is the motto, after drilling a few guide holes I set about cutting out the first panel, its handy to have someone inside the van to hold the loose panel to stop it flapping about when you get to the end. Once removed I filed the panel edge and sanded to remove sharp edges ,then we painted the edge with paint too stop it rusting .
Once the paint had dried we fitted the rubber seal, care is needed here not to stretch it as its being fitted,once this was fitted around the window I trimmed the excess leaving it a little long this will allow for shrinkage over time.
Fitting of the glass was done with the help of the wife from inside, we built up our own technique for fitting this and it seemed to work quite well ,plenty of soap will help no end and I recommend getting the fitting kit it saves damaging the seal and makes it easier to fit the filler strip .
Glass fitted in the first one so sealer is applied firstly rubber to body then I applied some to the rubber to glass ,we then set about fitting the filler strip.
Again care is needed to make sure you don't stretch the filler strip when fitting .My advice for fitting these windows is to take your time as they are tricky to fit .


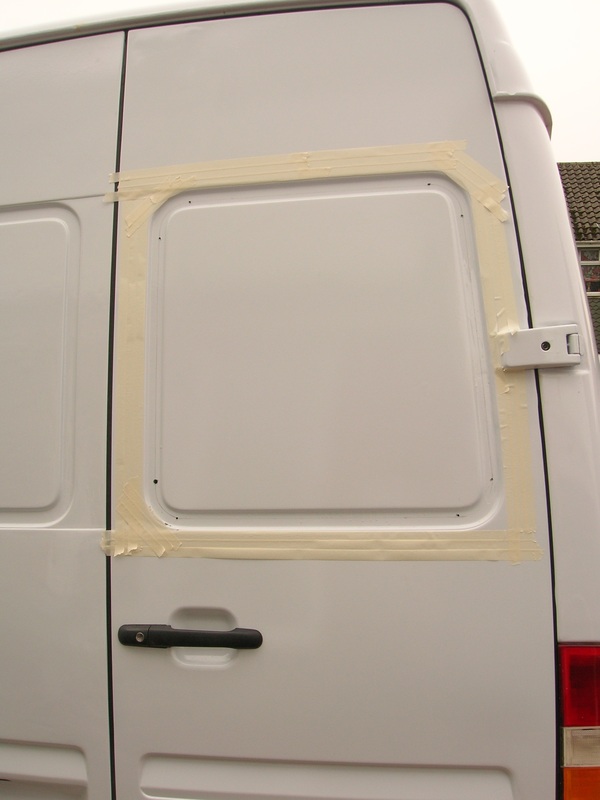
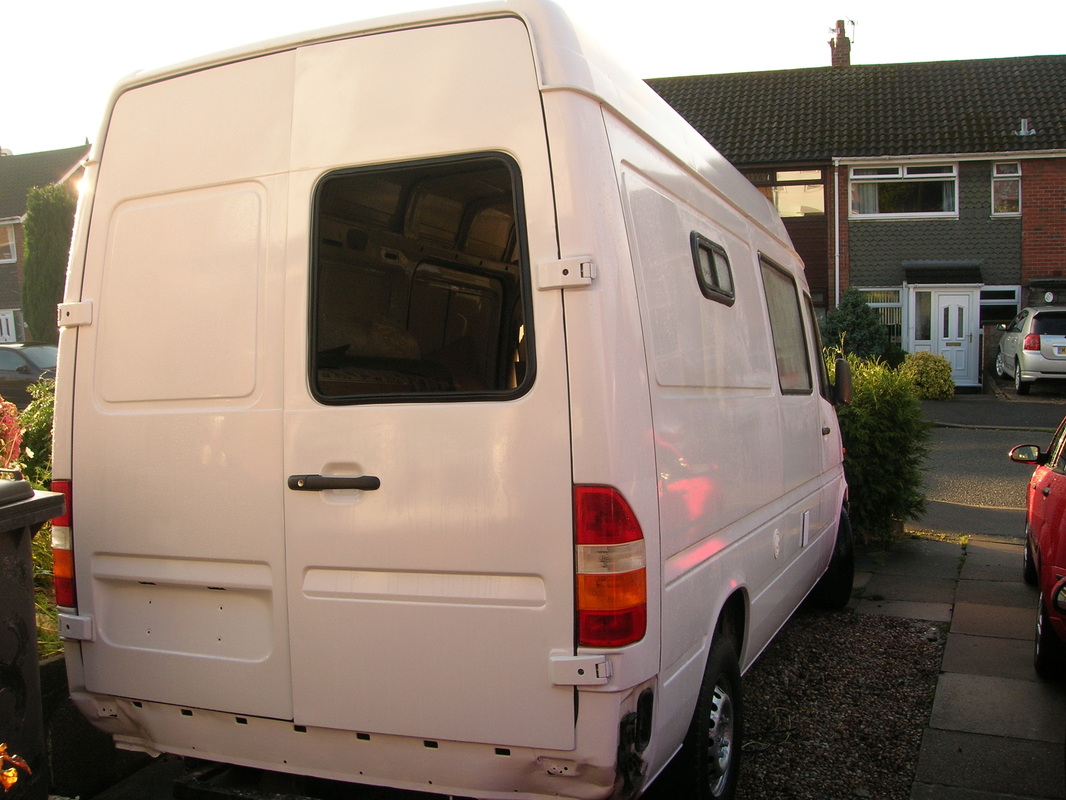
One down 5 more too go !!!! same process for all the next windows but we ran into problems with the rear door glass as I needed to take a little more metal off the top to get the glass to fit ,we found this one to be a pain in the backside ,we ended up running out of light so covered the door with plastic overnight as the temperature dropped making the seal hard and difficult too fit .
Tomorrows another day and what a difference walking away from it made it went straight in .
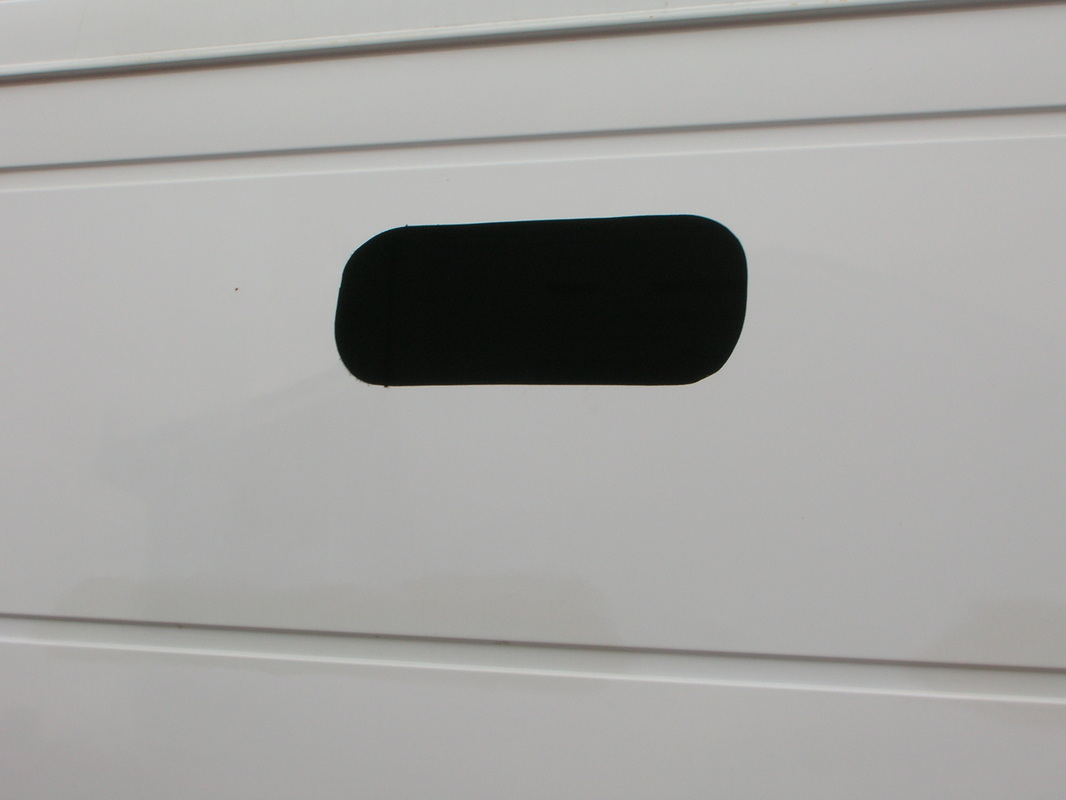
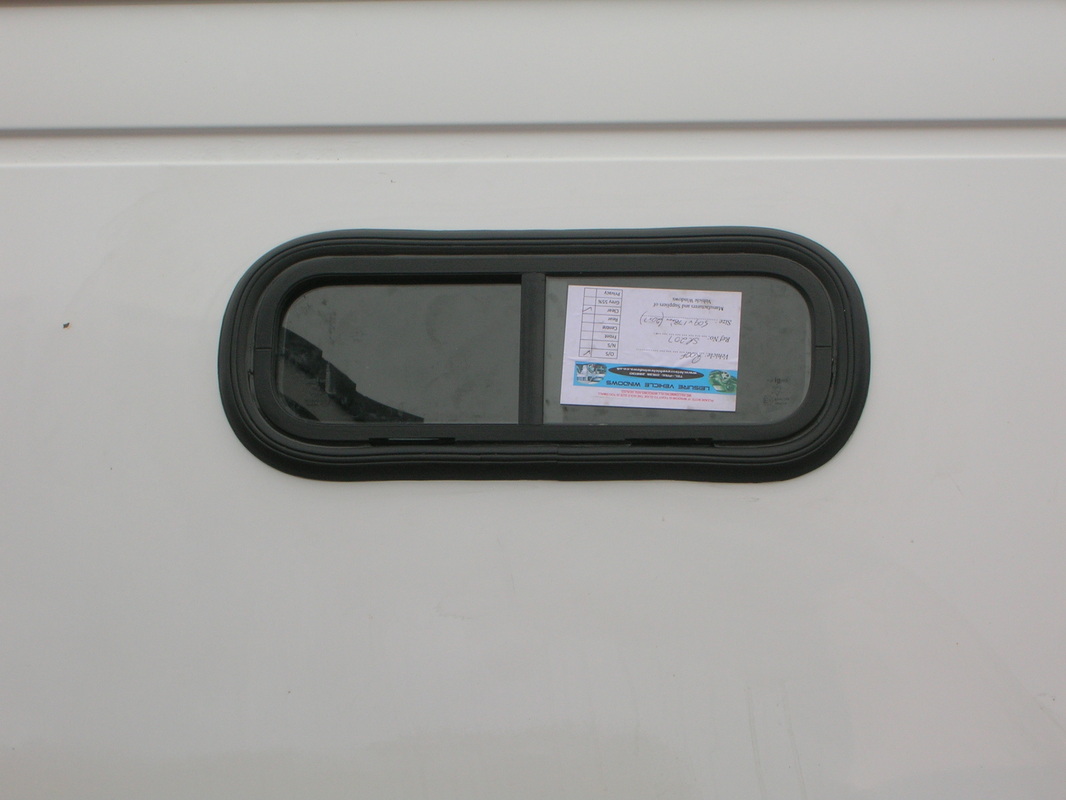
The hole was cut for the small sliding kitchen window and fitted as per instructions ,we didn't need a large window so went with one of the small type ,it can be changed at a later date if we change our minds.
Tomorrows another day and what a difference walking away from it made it went straight in .
The hole was cut for the small sliding kitchen window and fitted as per instructions ,we didn't need a large window so went with one of the small type ,it can be changed at a later date if we change our minds.
